
If you are inexperienced with CSS step 3 will be the most challenging. But we will do our best to give you the right tips.
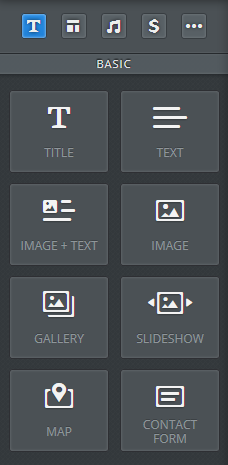
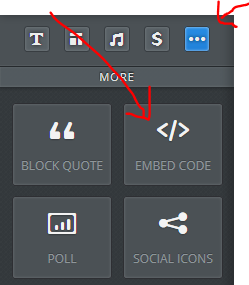
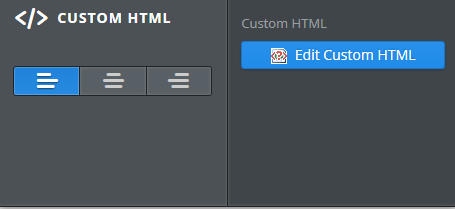
Step 1. Drag and Drop the Custom HTML ElementDrag and drop the EMBED CODE - also called CUSTOM HTML - element to where you want it on your webpage. Best practice for design, users and SEO is usually to have just one H1 tag, usually at the top of the page and allow all other headings to be H2, H3, etc. The main idea being order of importance . . . Step 2. Enter Your Title with the Proper <h1></h1> Code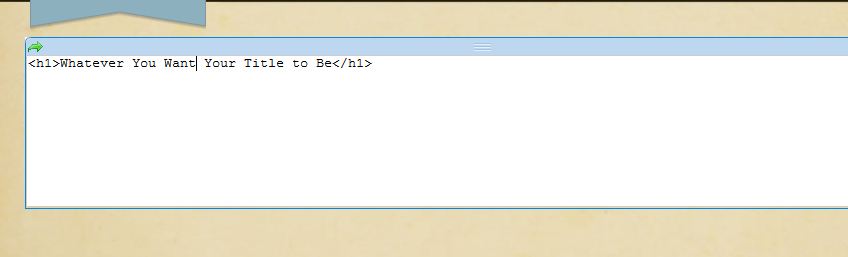 Type the heading title you want in the Custom HTML element between the proper tags. Simply enter whatever you want your title to be between opening <h1> and closing </h1> HTML tags. For example: <h1>Whatever You Want Your Title to Be</h1> <h1> is the opening HTML tag for your title and </h1> is the closing HTML tag for the same. If you forget to add the closing </h1> tag, then the rest of the page may also render as H1 . . . and, whoops, that's not really best practice by any standard. Click out of it and you now have an H1 heading tag on your website page! But wait! . . . Since H1 is usually not fully defined in the CSS of most Weebly website themes, you're likely going to see a generic H1 styling, usually large, bold and black. If this works for your styling then simply leave it. If not, then to change this you are going to have to add styling definitions in one of two places: either in your main-style.css sheet or use in-line CSS styling within the custom HTML element itself. 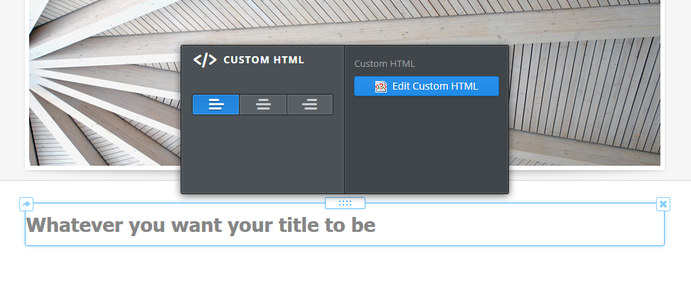 Your h1 heading will likely have generic CSS styling. Defining font, size and color in the main-style.css may be a little easier so we will look at how to do that first. Step 3. (Advanced) Define the H1 Tag in Your Main-Style CSSClick on the Design tab and then Edit HTML/CSS 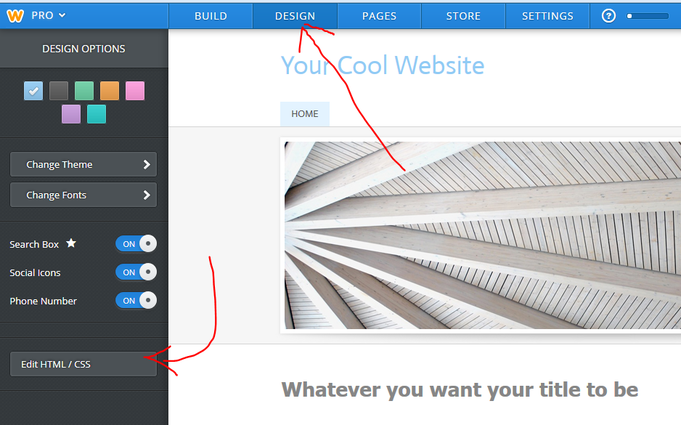 Click DESIGN then Edit HTML / CSS Click on main-style.css and find the h1 CSS definitions. 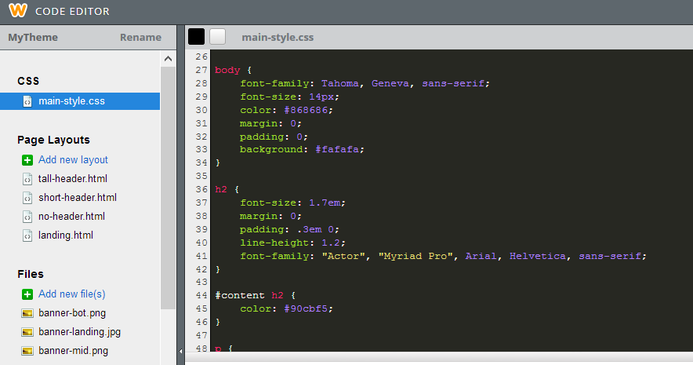 What you will find will vary depending on the Weebly website theme you are using. What you will need will also vary depending on your own design and styling goals. But here are a few tips. Some themes may already had a distinct h1 { } present in the main-style.css sheet. Our example theme did have any h1 definition at all. If tht is the case you will have to add it. Like this: h1 { } Your style commands then go in between the { } as you can see in all of the other styling definitions. In other themes you may find something different such as h1, h2, h3 { . . .} which is a way of grouping them altogether. If this is the case you will have to add the proper opening { and closing } codes (in white) to keep all of your styling commands separate and working properly for the different elements. How to Change the H1 Font SizeGenerally speaking, your h1 font-font-size should be larger than your h2 (h3, h4, etc.). This is a factor for SEO as well as just general use and styling. The whole point, really, of an H1 tag is that is emphasizes itself as the most important heading on the page. Thus, larger and heavier (bold) naturally fit that bill and always will by general HTML default. But to change the font-size, simply change the number you find. font-size: 33px; font-size: 45px; font-size: 80px; etc. So h1 { font-size:32px; } How to Change the H1 Font ColorTo change the color enter a different #hex code, rbg code, HTML color name or whatever you would prefer. If you're not familiar with which color code or name to use, simply do a Google search for HTML color codes, etc. and there are many wonderful resources. color: #34260a; color: #ffffff; color: black; etc. e.g. h1 { font-size:32px; color: #34260a; } (A great resource for html color codes is here. How to Change the H1 FontTo define the font for your H1 you'll need to enter a font-family definition or change the one that is already there. Often you'll simply want the h1 font to be the same as you've chosen for your H2 (Title element) Here we change the H1 font to 'Uglyqua' by adding font-family: 'Uglyqua', arial, sans-serif; The "arial, sans-serif;" part is a standard convention in case for some reason a browser can't display Uglyqua. 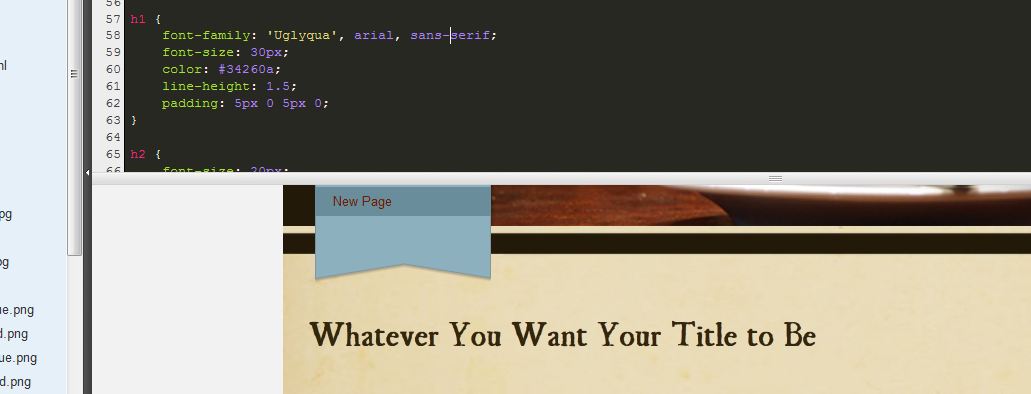 H1 tag with the 'UglyQua' font Step 4. (Alternate Method) Use in-line CSS in the Custom HTML ElementTo use inline styling in the custom HTML element simply apply inline commands in the proper format. For this example we restrict ourselves again to font, size and color for simplicity. All styling goes within the opening <h1> tag, adding style=" . . . ." In the example below we used Verdana as our font, red as our color and 40px as our size. <h1 style="font-family:Verdana;color:red;font-size:40px;"> 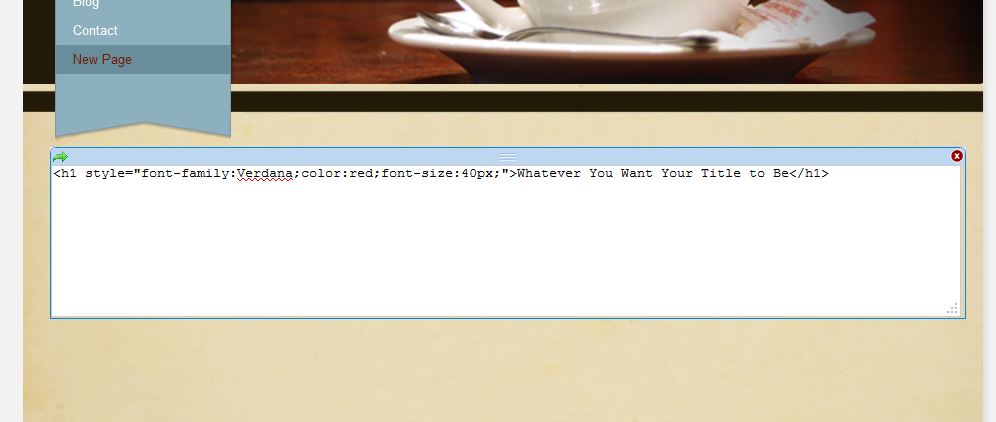 Place in-line CSS in the Custom HTML element itself within the opening h1 tag. And here is our result. 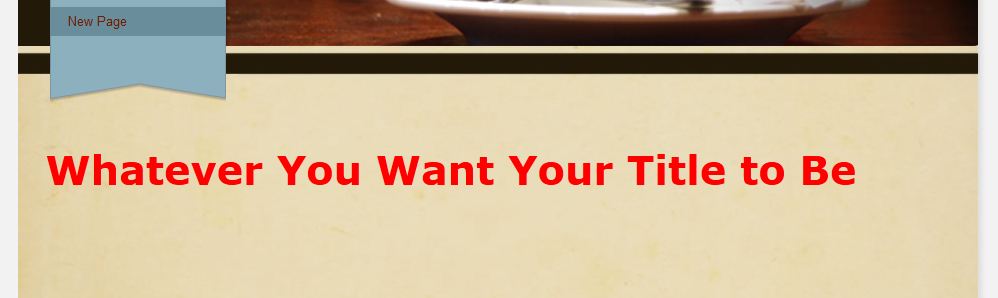 H1 tag with in-line CSS styling. How to Align Your H1 Heading Center, Right or LeftTo align your heading center (left or right) use text-align:center; before the closing " of your in-line styling. You can also enter the same command in your main-style.css. Or, you can also use Weebly's align command for the Custom HTML element, but it seems you will have to reset it each time you click in and click out of the element again, if making any changes. 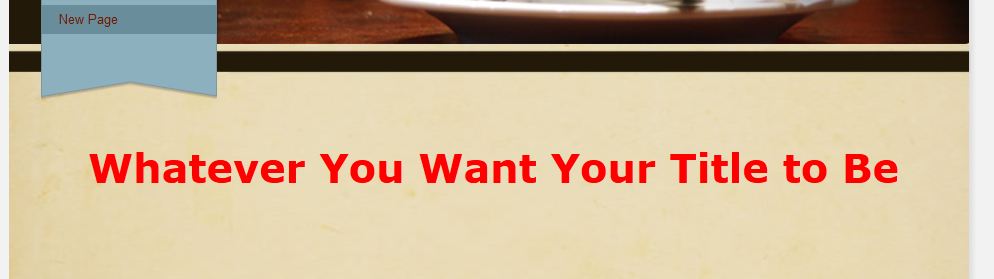 How to Add H2, H3, H4, H5, H6 to WeeblyAs we already said, Weebly title elements are H2. So you can easily change the size, font, styling, etc. for those in the main Weebly editor and add them in wherever you would like. But to add any other heading tag - h3, h4, h5, h6 - simply follow exactly the same steps above that we outlined for h1. And of course, change the number. 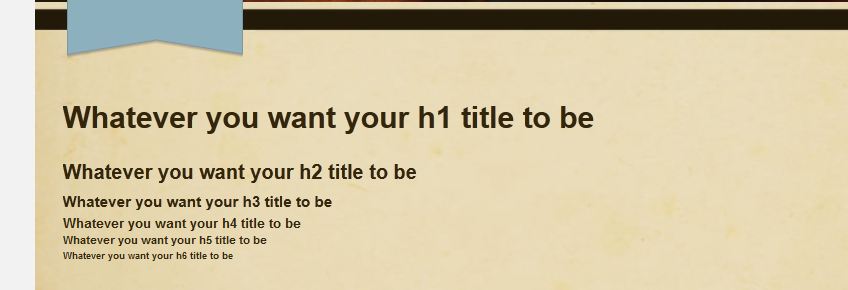 Headings 1-6 (h1-h6) Beyond that, enjoy your Weebly H1 tags!
Here are a few more tips.
Once again, enjoy your Weebly H1 and other heading tags!
43 Comments
|
Timothy J Melody
Archives
March 2015
Categories
All
|
 RSS Feed
